The first wrinkle
In my last update, I decided to service my pedals. The next Tuesday, I walked (ugh) to Somerville Bike Kitchen for the umpteenth time and spent 2 hours stuck on step 1:

Through this experience, I relearned a fundamental law of bicycle maintenance: >A component assembled for a half century tends to stay assembled unless acted upon by a purpose-built tool.
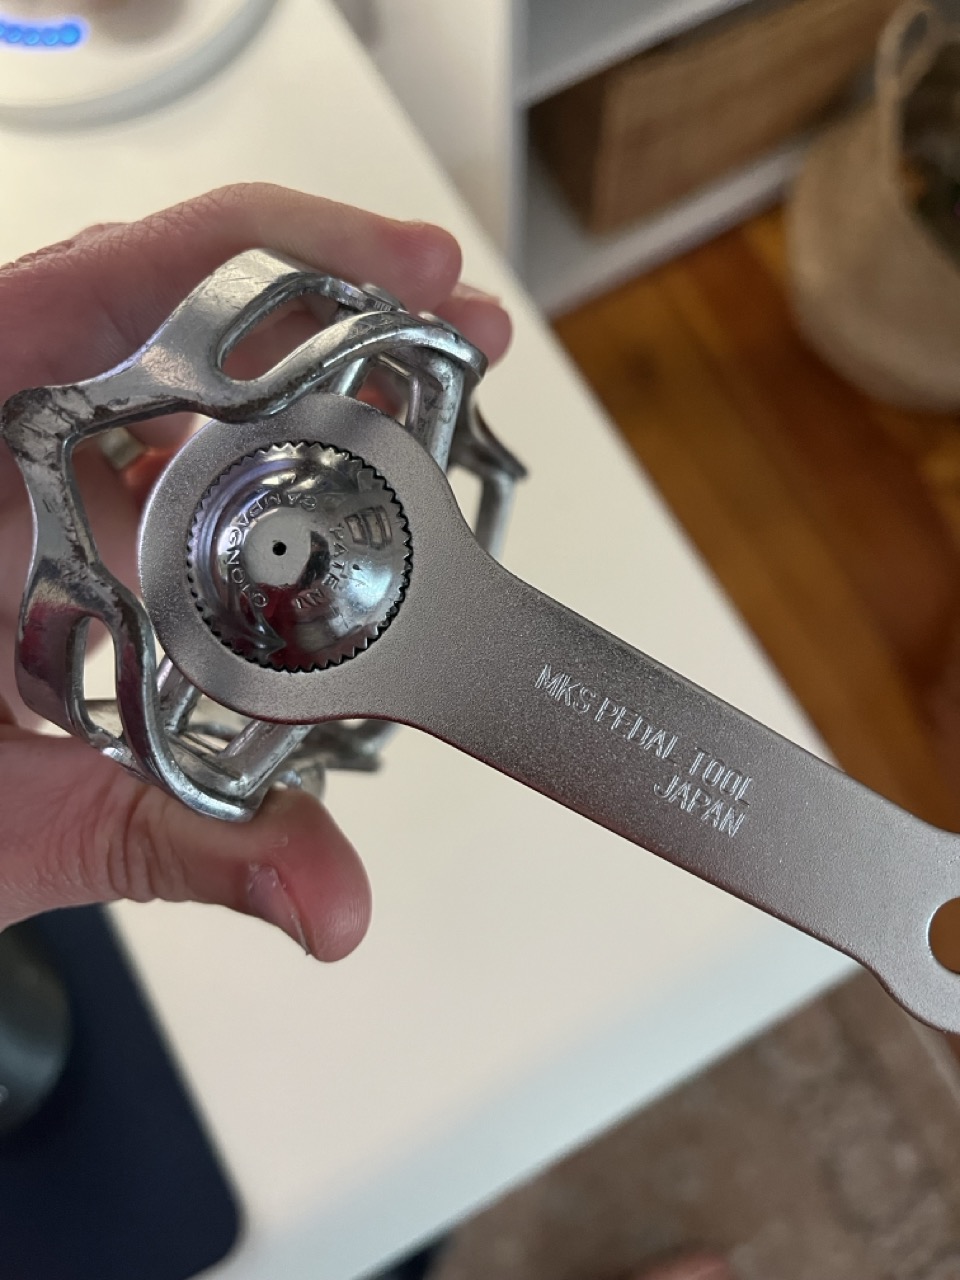
What was true with my headset remained true with this pedal dust cap. However, the internet spoke of a “special dust cap wrench to remove them.” Of course, it’s been 50 years so I was skeptical I could find such a wrench; the usual suspects—eBay, Reddit, the Bike Peddler, Cicli Berlinetta, and Classic Steel Bikes—turned up nothing. But some digging turned up the MKS Dust Cap:
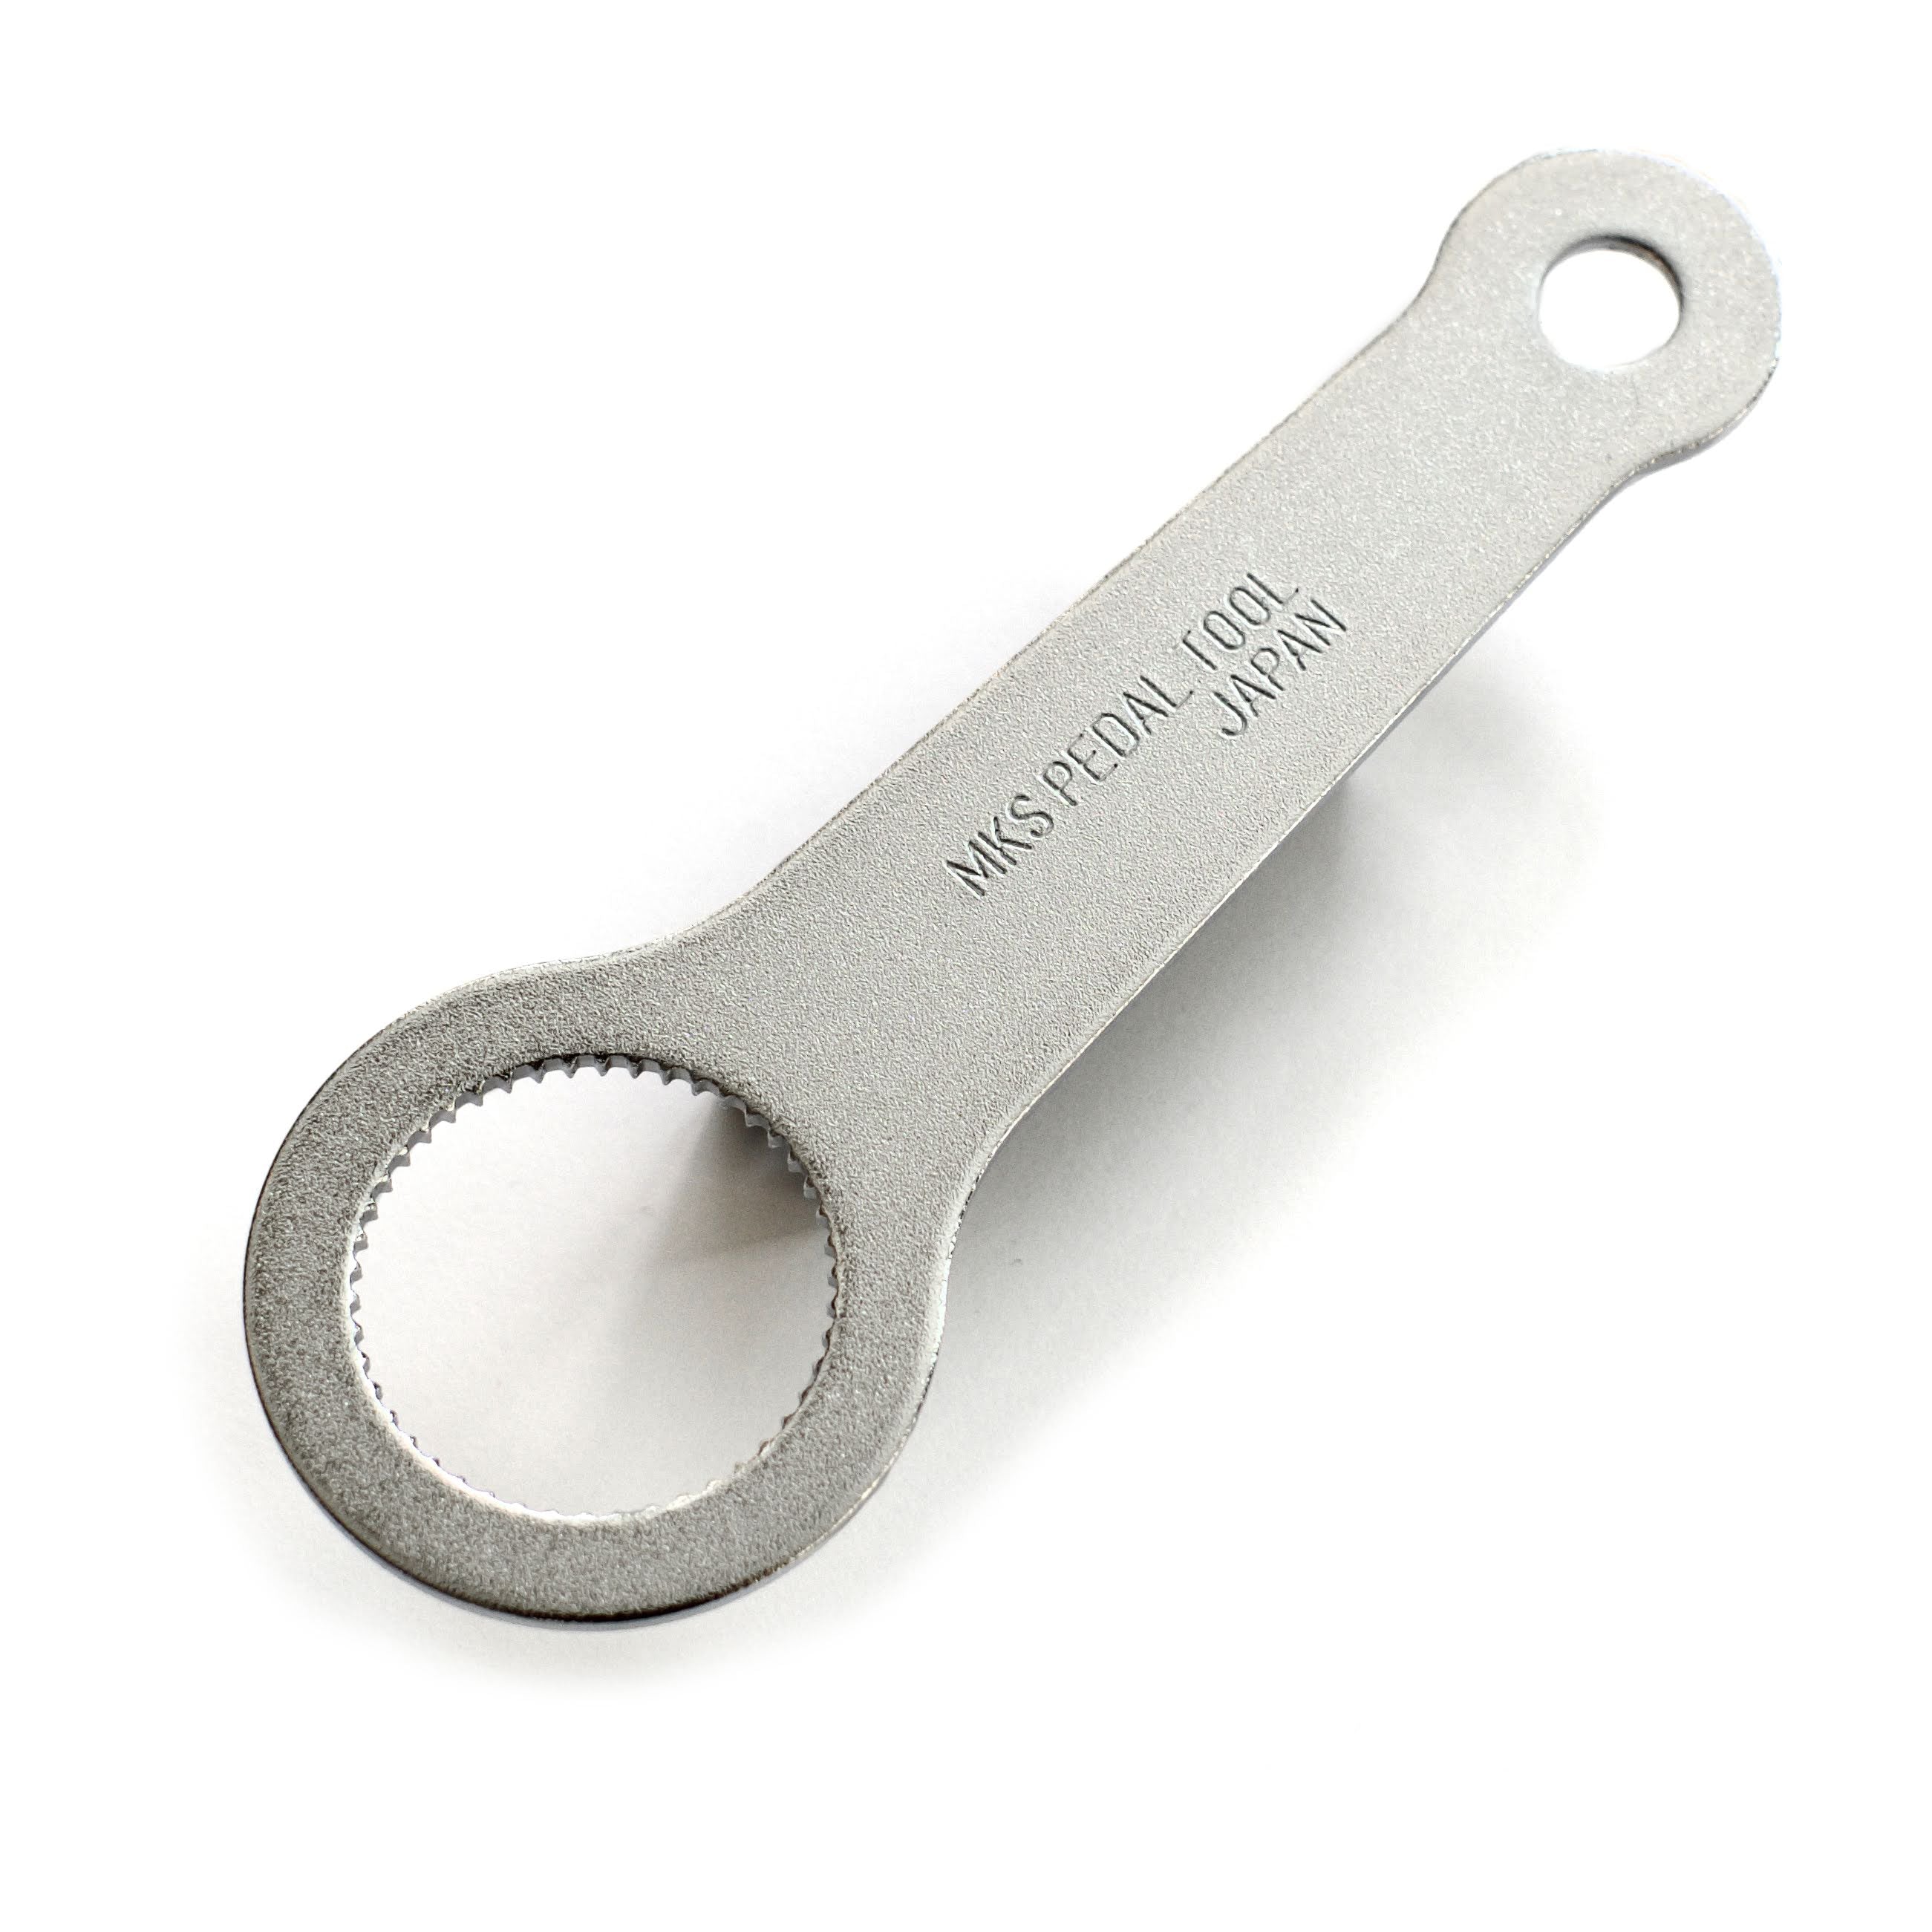
This little $6 tool was “designed to remove the dust cap from BM-7, Sylvan series , and Sylvan Prime series of pedals”. And it just so happens to exactly fit Campagnolo Record Strada pedals.
The second wrinkle
After 2 weeks, I had successfully disassembled the pedals, leaving a new mess that looked like this but greasier:

I put everything through another round of degreasing and set to work reassembling. I expected the worst after seeing this in the instructions: >This next step will usually require a number of repetitions to achieve the perfect bearing tension setting regardless of how many times you have done it before.
However, I found repacking bearings to be pretty straightforward. Yes, it required re-doing but it’s reversible, so it forgives the beginner.
The third wrinkle
Unfortunately, I discovered damage in one of the bearing races, which resembled a keyhole rather than a circle: 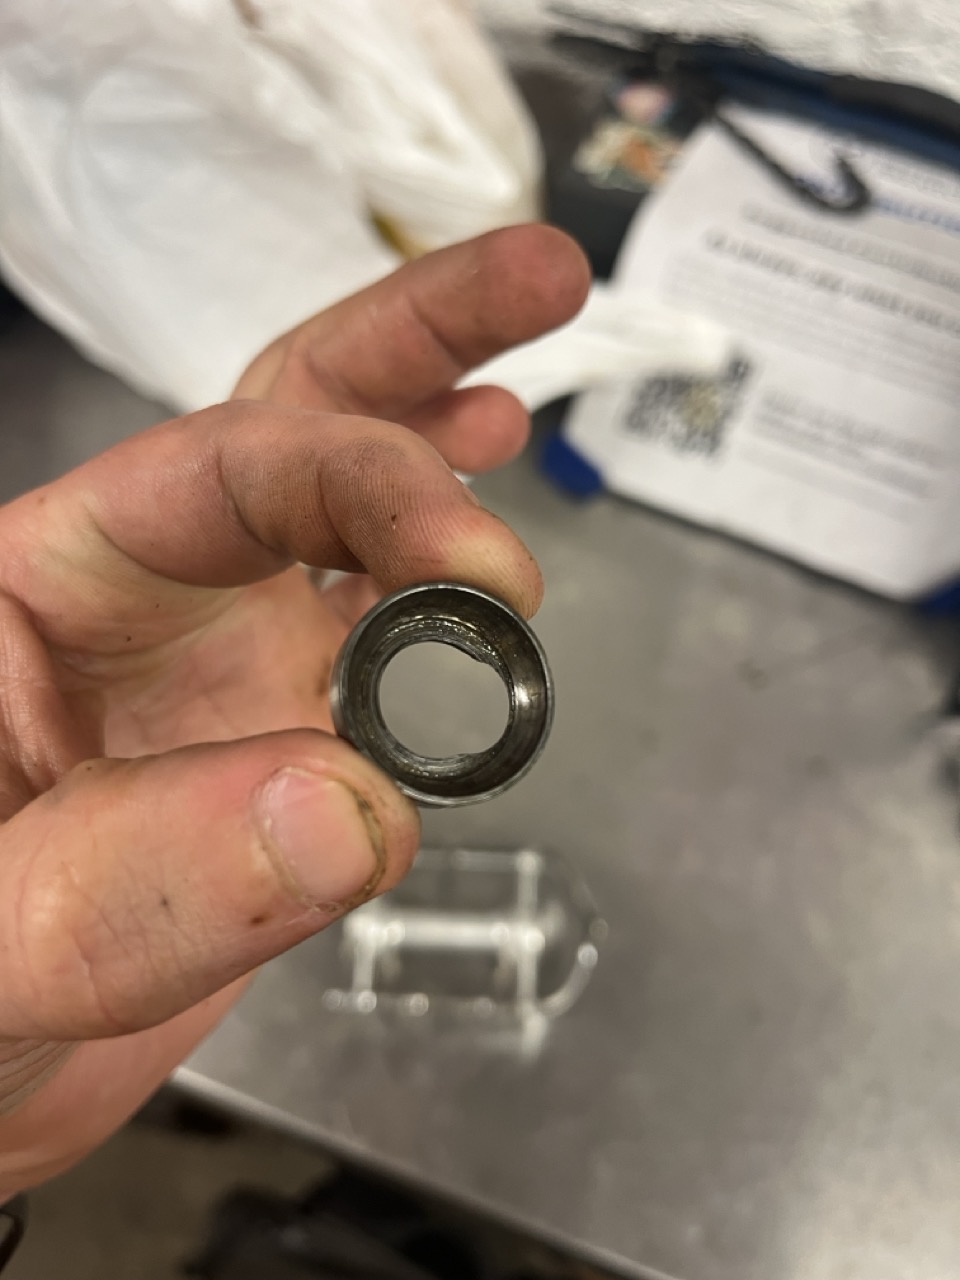
This may not have affected performance; but I did not come this far to put a damaged pedal back together. Back to Reddit. The same helpful Redditor who fixed me up a Phil Wood bottom bracket saw my post and reached out, finding me a deal from a vintage reseller I had never heard of, Bike Recyclery. I bought them, got them, and immediately realized they the wrong part. (Side note, I never heard back from them after I explained this….) Undeterred, the Redditor quickly found an eBay listing that met my needs. I added small nuts to a bearing press and fit the race in.
The fourth wrinkle
Packing up, I have no idea if I put the correct number of bearings in each pedal. I tried to distribute them by putting 11 in one side and 12 in another but somehow I never got them to match. This was painstaking work and I ended up repacking each pedal’s outer race because the spindle inevitably touched a greased bering, bringing the whole greasy enterprise with it. Satisfied with the quiet, smooth spin, I proceeded to thread the pedals on…only to realize I had put the right spindle on the left pedal and the left pedal on the right spindle:
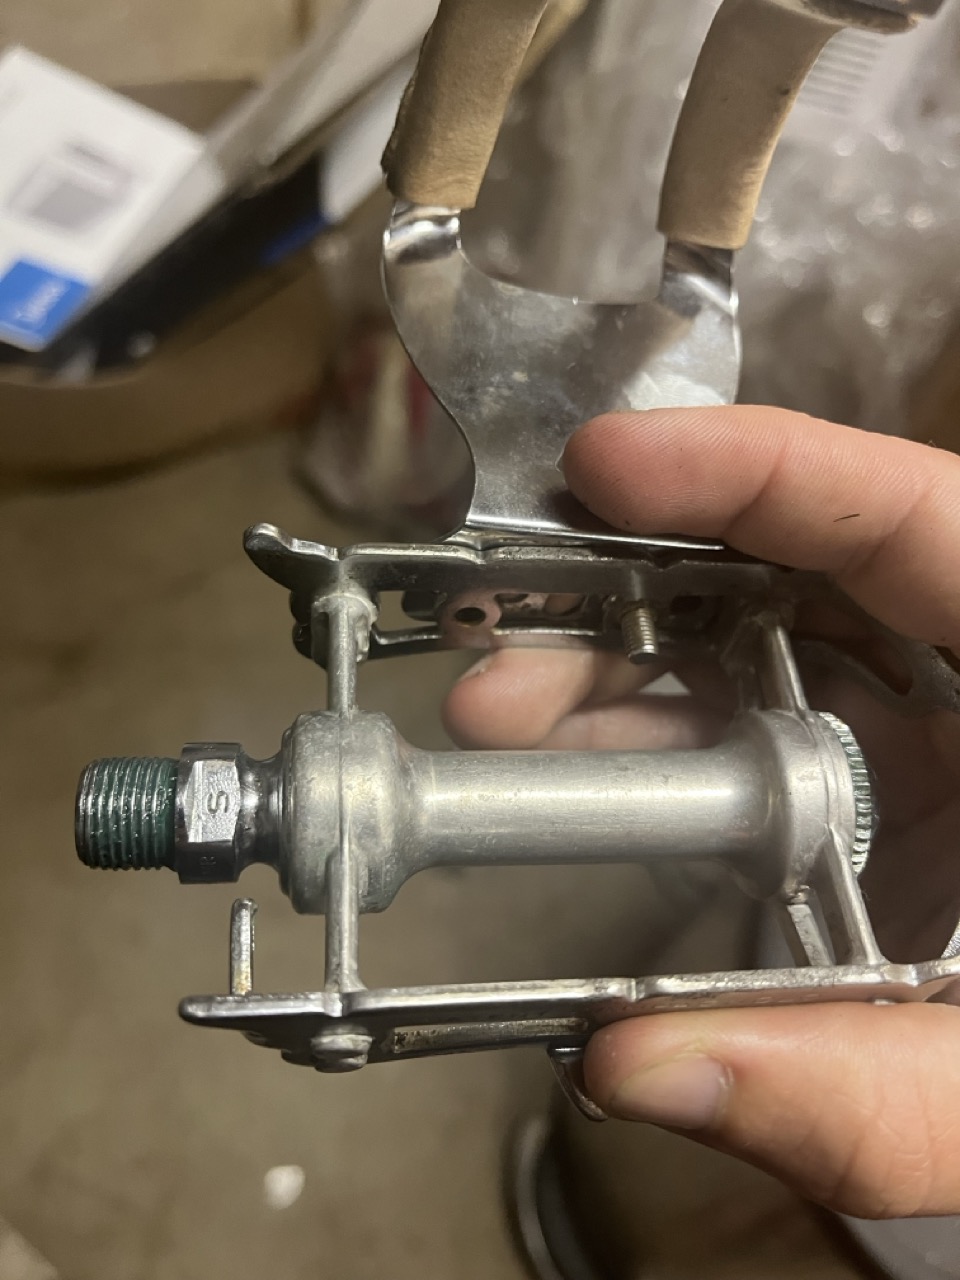
S for sinistra; the right pedal has D for destraThese pedals aren’t symmetric—there are little fangs on the back of these that you don’t want facing front, plus the toe cages I had become fond of don’t fit on the back. So, I did the only thing I could do, which was wallow in defeat for a week and then repeat the whole process.
Oh yeah, about those decals
Since our last post, I also put on the H Lloyd Cycles decals. They look great but I really really should have asked Pike Powdercoat to put them on before they added a topcoat. These are unprotected white and aren’t going to last very long. Still, they were only moderately finicky and I only moderately messed them up.
Wrapping up
Chain and shifters went on with an acceptable amount of bull-in-china-shop bumblery and, as of 2 weeks ago, the bike is rideable! I present the new, improved, Wester Ross frame #015: 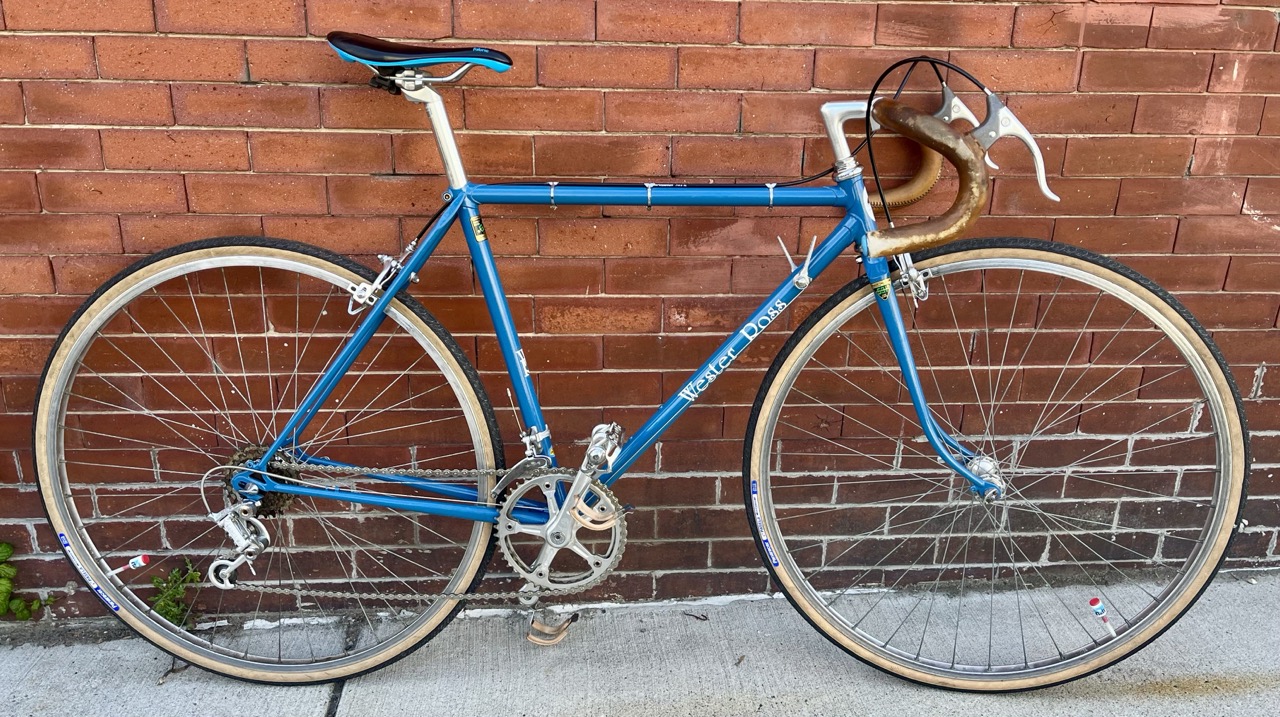
I hopped on and all sounded well until I put the power down. My chain immediately slipped, signaling that the freewheel needs replacement too. For next time 🙃